Some people like to grow their own food. You’re thinking of carrots, potatoes, leeks…brimming with hearty goodness, still with soil on them as they’re pulled out of a rich, earthy, nutritious loam.
There’s nothing wrong with that, but I prefer to use bacteria to do my growing.
I’m of course talking about yoghurt (or indeed yogurt, for my North American friends). I remember a while back I was surprised to learn that yoghurt was really easy to make, and so for quite some time I would make regular batches. But then finally, convenience took precedence and I started buying it again. Anyway, I found myself today taking a short break from my usual daily routine of editing photographs and so I thought what better use of time than to make some dairy-based produce. I know, it does not get much cooler than that.
So how do you make yoghurt, I hear you cry? Well, the first thing you need to do is go out and buy some yoghurt. That’s right, go and buy some yoghurt. I know it sounds wrong that you’re buying the very substance you’re going to make, but read on. You see, if you intend to continue making your own yoghurt, you only need to buy it just one time, right at the beginning, and then you’re fully self-sustainable in the yoghurt stakes. What you’re going to do is put that shop-bought yoghurt to work, and make it make more yoghurt. It sounds cruel, but really, I’ve talked to yoghurt and it’s absolutely fine with being used this way- it does not mind.
Ingredients:
1 litre of milk (it can be any kind…full fat, semi-skimmed etc), this will make 1 litre of yoghurt
1 small pot of live yoghurt. This is the important bit- it MUST be live yoghurt.
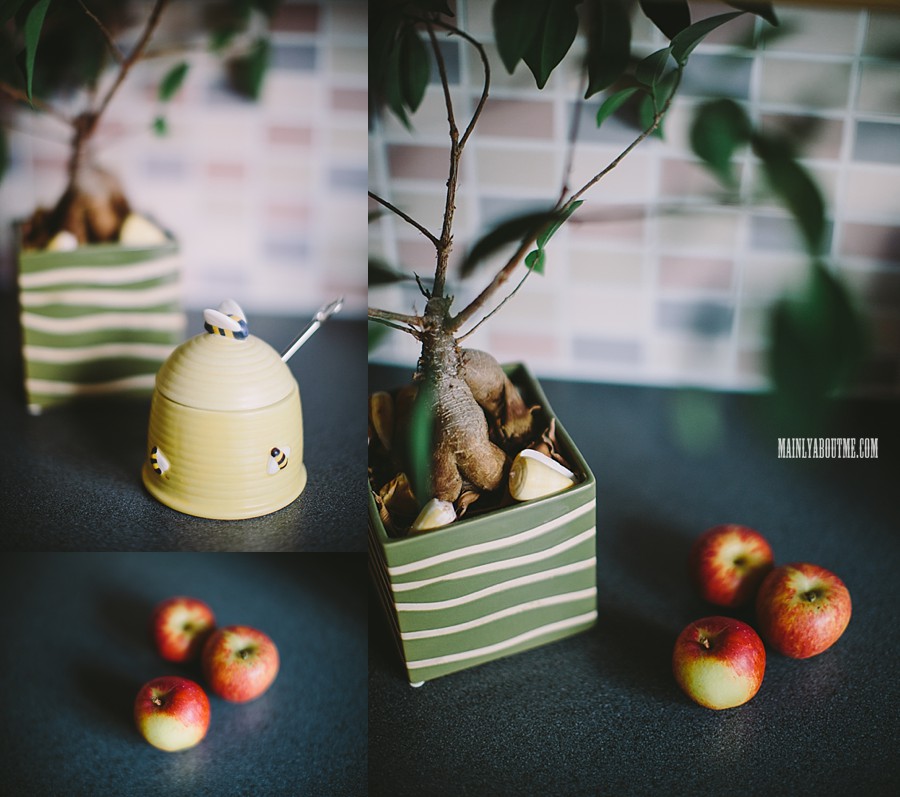
4 apples (seeded, finely chopped)
1 tsp honey
1/4 tsp cinnamon
1/4 tsp vanilla essence
Pour the milk into a pan and bring almost to the boil. Here’s the science: heating the milk to this extent denatures the proteins in it, meaning that your yoghurt won’t separate and will set. Just as it comes to the boil, remove from the heat and place the pan in a sink quarter-filled with cold water (i.e. a water bath). Stir the milk in the pan until it’s cooled to around 40 degrees celsius. If you don’t have a thermometer, tentatively dip a finger into the milk and as long as it’s comfortable, it’s ready for the next step). DO NOT plunge your whole hand into the milk, just in case…it’s why I’m saying tentatively use one finger. Safety at all times please, when you’re making yoghurt or in fact at any time in the kitchen.
Next, rinse a dish/bowl big enough to hold all the milk with boiling water from the kettle to sterilise the bowl, then pour your warm milk into it. Now take your small pot of live yoghurt and empty the contents into the milk, stirring as you go. When stirred thoroughly, cover the bowl in clingfilm. Now here’s where you have a choice; if you have a central heating system with an airing cupboard, you’re in for the easiest ride. Place your bowl of milk mixture into the airing cupboard, and then sit back for 6 hours safe in the knowledge that you’re soon going to be enjoying a creamy dairy delight. If you don’t have an airing cupboard? Fret not. Warm your oven to about 45 degrees C, and when it hits that temperature, turn it off and place your bowl of milk mixture in the oven, close the door, and keep yourself busy for about 4-6 hours while the bacteria work their magic.

So you’ve got yogurt. It’s kind of plain, but nevertheless rather nice, but I wouldn’t blame you if you wanted to go one step further. It just so happens that you’re in luck, because there is more…
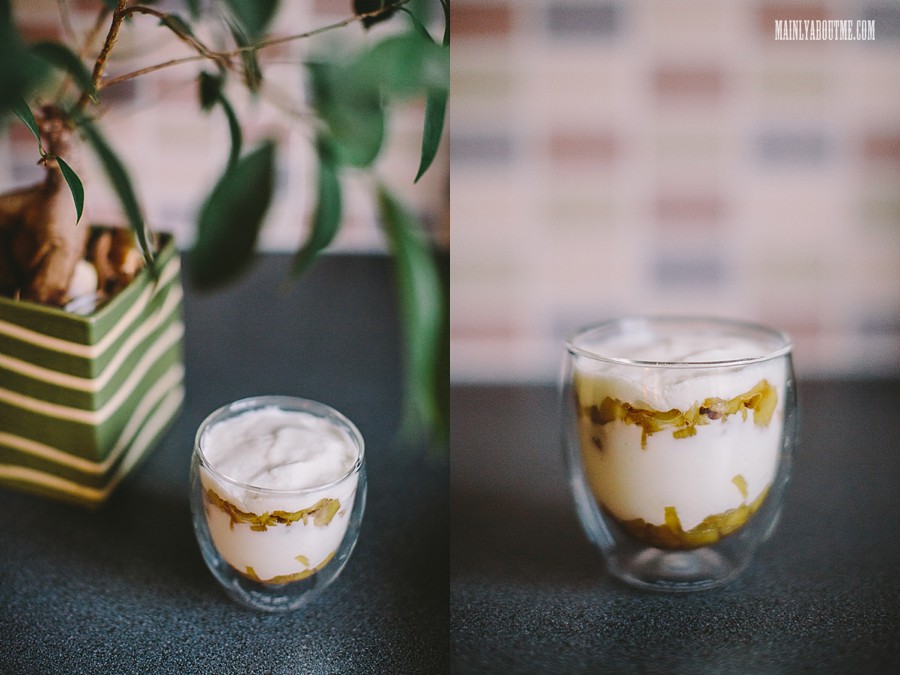
Take your finely chopped apples and place into a pan with the honey, cinnamon and vanilla essence. Place over a moderate heat until they’re nice and soft…you may have to add in 1-2 tbs of water if the apples aren’t very juicy, but don’t go overboard because you don’t want to end up with your cooked apple sat in a watery liquid- it’s needs to be fairly dry. When they’re cooked through, chop through them with a fork but don’t keep going until you’ve got a puree…it’s nice to have a few lumps to add texture to your yoghurt. Cool your apple down, and when it’s ready just add it to your yoghurt. You can do something fancy with it like in the photos I took, should you so desire.
‘But you said you will never have to buy yoghurt again?!’ I did not lie. Keep your yoghurt in the fridge and it will last around 2 weeks. Whey will form on top every so often, but you can just stir it back in. So what’s the secret to a lifelong supply of your own yoghurt? Before you finish your last bit of yoghurt, just make sure you save enough to kickstart your next batch.


